If you purchase one of the products recommended in this article, I might receive a small affiliate commission. Thank you for your support!
While super long and baggy jeans were a hit in the early 2000s, they’re not the most flattering look. Besides the fact that your jeans will get damaged and worn from constantly rubbing against the floor and bottoms of your shoes, jeans that are too long can really ruin the look and fit of your jeans.
Unfortunately, most of us can’t get all of our clothing specially made for us so learning how to hem jeans by hand is a useful tool in anyone’s arsenal. Whether you’re short or tall, it’s always valuable to know how to shorten jeans and you don’t need advanced sewing skills or a machine to do so.
This is a quick do-it-yourself project that can be done within an hour. It’s also great to know should you ever want to revamp or change the look of jeans. Cuffing is a quick and temporary solution to shortening jeans but if you don’t always want to have a bulky hem or deal with unevenness then read on to learn how to shorten jeans by hand.
How to hem jeans and keep the original stitching
Most jeans will come with beautiful contrast stitching in speciality denim thread in colors like gold, white and silver. You don’t have to sacrifice the original stitching when shortening your jeans. Here’s how to hem jeans by hand and keep them looking untouched.
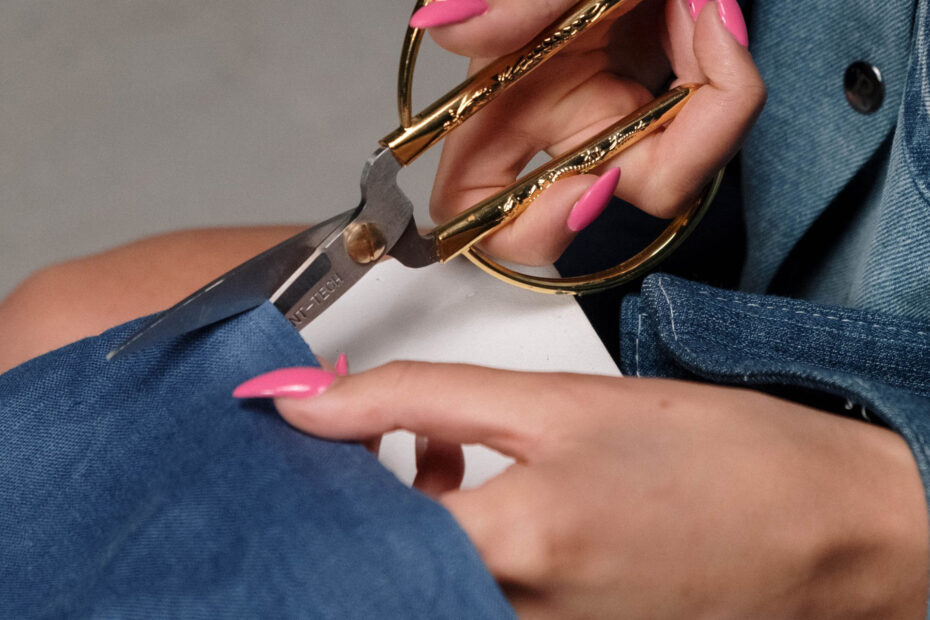
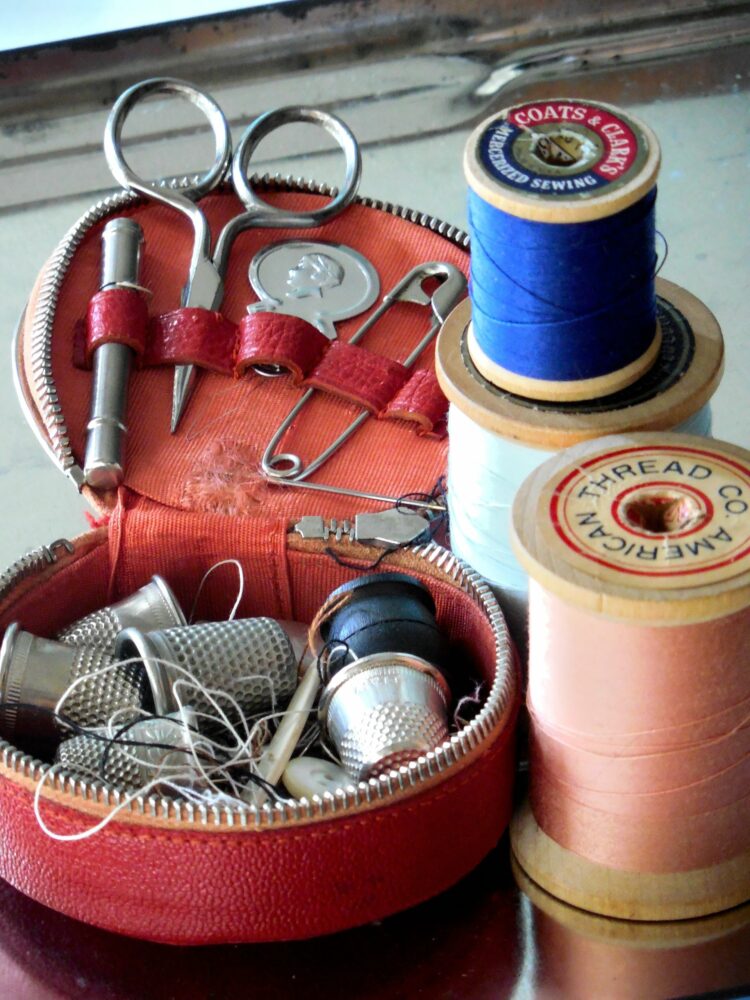
All you will need to hem jeans with the original hem is a needle, thread in a matching color to your denim, scissors, pins, and a ruler.
Read: How to Alter Jeans
Step 1: Put your jeans on inside out and roll your jeans up to your desired length. It’s easiest to do this on just one leg and you’ll use the ruler to match the legs later. Use pins to mark your new hem and then take the jeans off.
It can also help to wear shoes while doing this fitting to see how high your hem has to become to be above them.
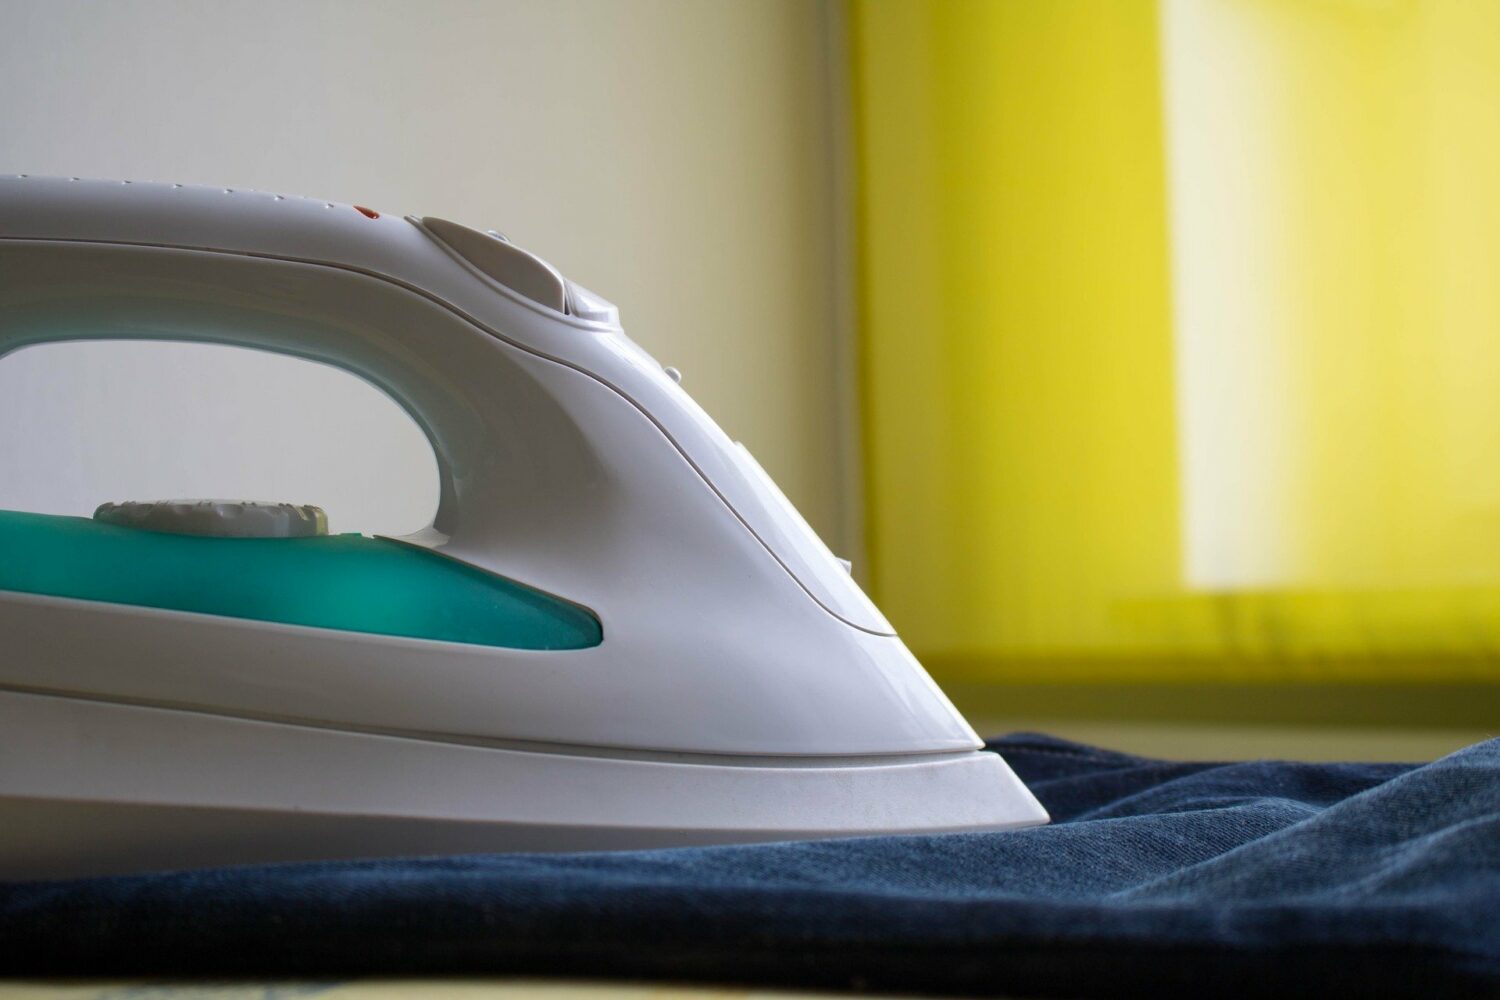
Step 2: Use a ruler to measure your pin markings and roll up the other pant let. With your jeans flat, you can also check that the hem is an even straight line. Iron this in place and create a strong crease.
Step 3: Remove the pins from your jeans. Next, pull out the original hem of your jeans until the hem is in line with the crease you’ve just created. Make sure to keep the folded fabric between your crease and the original fabric inwards. Iron this in place once more.
Step 4: Now, you will secure your hem to the crease line with a prick stitch. A prick stitch is just like a normal running stitch except it’s in uneven stitch lengths so that the stitches can’t be seen from the outside.
Thread your needle and knot the end. It’s best to double your thread for strength. Begin your stitch by pushing your needle from the inside of the jeans to the outside. Plant your next stitch as close as possible to your entry point to create a super tiny stitch or “prick”. On the back side of the jeans, you can create a longer straight stitch. Repeat this process all along the hem and knot your fabric at the end of the seam.
You should be left with longer straight stitches on the interior and tiny, almost invisible pricks on the outside. This is why it’s best to use a thread that matches the color of your jeans so they are unnoticeable.
Step 5: Press your new seam and place and just like magic, it looks like you haven’t even made an adjustment!
Read: How to Fix a Hole in Jeans Without a Patch
How to hem jeans with a straight stitch
This is the most basic method on how to shorten jeans by hand. The stitching on this hemming method will be visible on the outside of the jeans so it’s best to either use a matching thread or acquire embroidery floss for visual interest.
All you will need is thread or embroidery floss, a needle, pins, a ruler, and chalk or a fabric marking pen.
Step 1: Turn your jeans inside out and put them on. Roll the jeans up to your desired length as evenly as you can. Make sure to take a step back and up close to a mirror before you decide on a length. Once you’re satisfied, pin your roll in place and then put your jeans on a flat surface.
Read: How to Stretch Jeans Waist
Step 2: Make sure your hem is even and you can use a rule to match up the hems on both legs. Make a sharp crease at this fold with an iron and you can choose to remove the pins. Be careful not to iron on pins with plastic heads as they will melt.
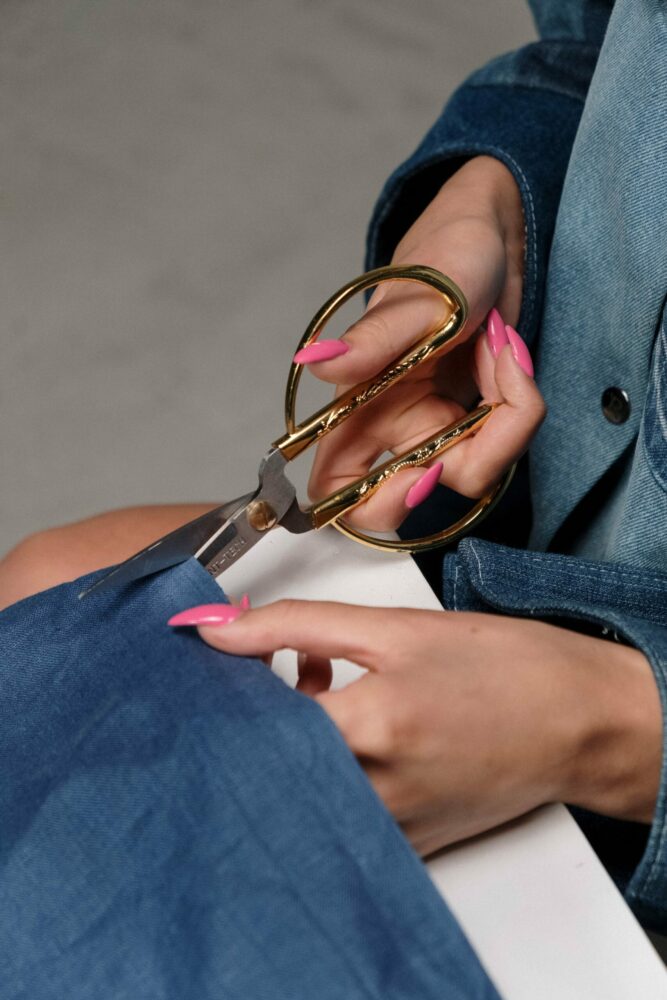
Step 3: Cut away the excess fabric, making sure to leave at least one inch. In order to protect your jeans from fraying, you’re going to fold one quarter to half an inch of the end of this fabric inwards and press this place.
Step 4: Turn your jeans inside and use a closely packed straight stitch to secure your new hem in place. Make sure that you’re placing your stitch so that it catches the fold on the inside. To ensure that your stitch is as straight as possible use your rule to mark a straight guideline all around the hem. You can even use something permanent like a regular ink pen to mark this line as long as the line is thin and covered by your stitches.
Step 5: Knot your thread a few times at the end and beginning of your stitches for security and you’re good to go.
Read: How to Wear Jeans That Are Too Long
How to blind hem jeans
In case you don’t like the homemade look of straight seaming your jeans, you can hem with an invisible stitch called the blind hem stitch. This stitch is often used in couture and evening wear to create hems that don’t have any noticeable lines from the outside of the garment. You don’t need to be a French couturier to achieve this, however, as anyone can learn how to hem jeans by hand with this method.
For this method, all you need is a needle and matching thread, scissors, pins, and a ruler.
Step 1: Try your jeans on inside out. Roll the hem up until you figure out your desired length. A standard rule for jean lengths is to consider the shoes you want to wear them with. Generally, you want your jeans to be an inch above your shoes but you can go a little higher for athletic footwear.
Step 2: Mark your desired length with pins and remove the jeans. Lay the pants on a flat surface and use a ruler to match both legs and create a straight, even hem. Press these hems in place as flat as possible.
Step 3: Trim away the excess fabric, making sure to leave one to two inches of fabric. You can either mark a half-inch line if you’ve left one inch of seam allowance or a one-inch line if you’ve left two inches of fabric away from the edge of your cut. Use this line as a guideline for folding the fabric inward in order to protect the edges from fraying.
Iron this fold in place.
Step 4: This stitch is done from the wrong side of the fabric. Thread your needle with a single thread and knot it at the end. Anchor your needle and thread in the thickened folded fabric of your hem. Do not go through the fabric that is the outside of the garment.
Next, you will use the tip of the needle to pick up a single thread in the singular fabric above the fold of your hem. This can take practice but when done right, it will create an almost invisible mark from the outside. Pull your needle through this single thread and then push it through the folded fabric. That should create a diagonal stitch that will hold the hem up the jeans where you’ve stitched. Continue that stitch all along the hem.
Step 5: When you’re done, set your stitches with an iron and you will have the look of jeans without any visible hem stitches!
Read: How to Turn Jeans Into a Long Skirt
How to shorten jeans by hand with binding
Cotton tape and bias binding are often used in sewing to finish seams and protect the fabric from friction and frayer. You can purchase premade bias binding and cotton tape from craft and fabric shops in a variety of colors which presents the opportunity to create a contrasting color finish the hem of your jeans.
How to hem jeans by hand with this method will just involve a needle, pins, scissors, and thread in a matching color to your chosen cotton tape or bias binding. Cotton tape will be most similar in texture to your denim but if you’d prefer, bias binding comes in finishes like satin, cotton, and velvet that can jazz up your jeans.
Step 1: Try your jeans on inside out and roll them up to your preferred length. Mark this with pins and then lay the jeans on a flat surface.
Step 2: Use a ruler to match up the hems and ensure they’re straight and even. You can either iron this line or cut it away immediately with scissors. The binding or tape will incase the edge of the fabric so you don’t have to fold it up at all.
Step 3: Sandwich the edge of your hem inside the fold of your tape or binding. You can iron this in place for a clear fold before pinning it in place.
Step 4: You can either opt to straight stitch or prick stitch this in place.
And with that your jeans are not only shorter but they have a fun visual touch too.
